Run your program
This page is the short version: plug in, pair, press a phase button. For what every control and message means, see Operate the MARLIN extension.
You need the MARLIN extension installed first. See Install MARLIN.
1. Connect the Controller
- Connect the Controller to your computer over USB.
- Open the MARLIN control station in VS Code.
- Click Refresh.
- Select the Controller port and click Connect.
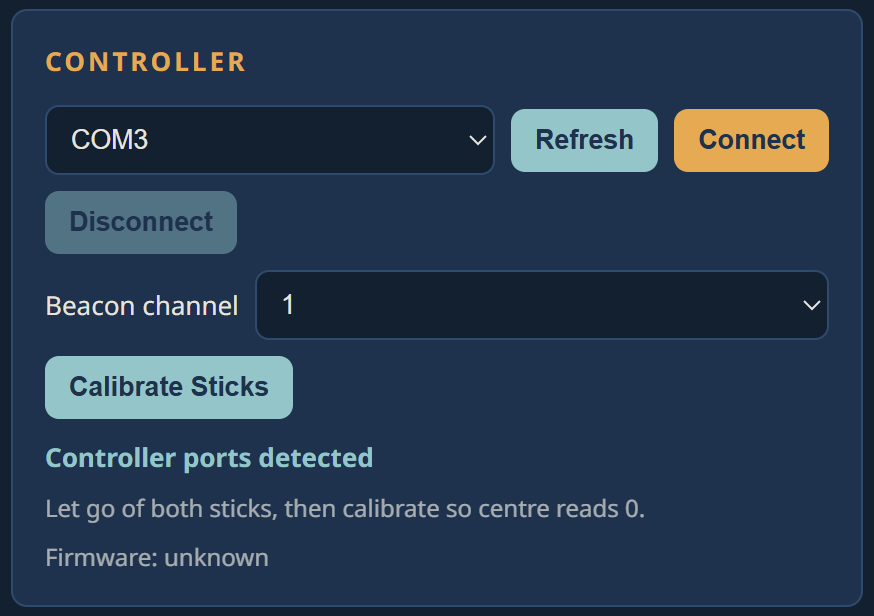
Which port is the Controller?
The dropdown lists every serial port on your computer, not just the Controller. The extension does not remember your choice between sessions, and it pre-selects the first port it finds, which is often the wrong one. Read the list before you click Connect.
| Your computer | Pick something like | Ignore |
|---|---|---|
| Windows | COM3, COM4, COM5, or any COM number |
COM1 if your machine has a built-in serial port |
| macOS | /dev/tty.usbmodem1101, /dev/tty.usbserial-0001, /dev/tty.wchusbserial110 |
/dev/tty.debug-console, /dev/tty.Bluetooth-Incoming-Port |
| Linux | /dev/ttyACM0, /dev/ttyUSB0 |
/dev/ttyS0 and other ttyS ports |
The number on the end changes with the USB port you plugged into, so
usbmodem1101 today may be usbmodem2101 tomorrow. Match the name, not the
number.
/dev/tty.debug-console is a macOS internal port that is always there,
Controller or not. Selecting it looks like it worked. The extension opens the
port and nothing ever answers.
If several ports look plausible, find the right one by elimination:
- Unplug the Controller.
- Click Refresh and note which ports remain.
- Plug the Controller back in and click Refresh again.
- The port that reappeared is the Controller. Select it and click Connect.
Once the Controller is connected, pair it with the robot brain.
2. Connect the robot brain
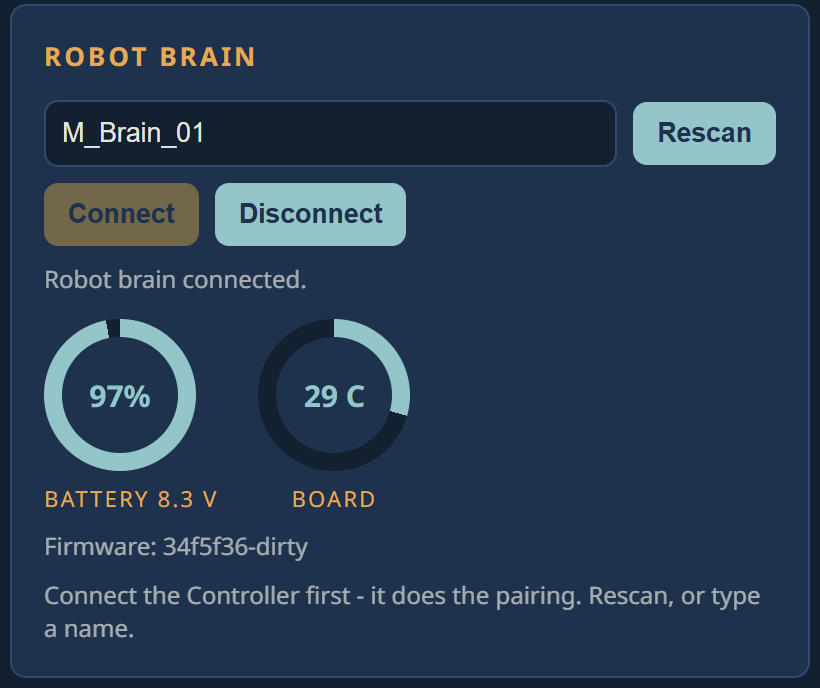
- Press the pairing button on the robot brain.
- Click Rescan and pick your brain from the list (its name starts with
M_). - Click Connect.
- Check that the battery and board temperature dials are showing values.
3. Open a project
- Click New Project and choose a blank or tank-drive example template, or open a MARLIN project folder you already have.
- Put your program in
src/main.py.
4. Start a phase
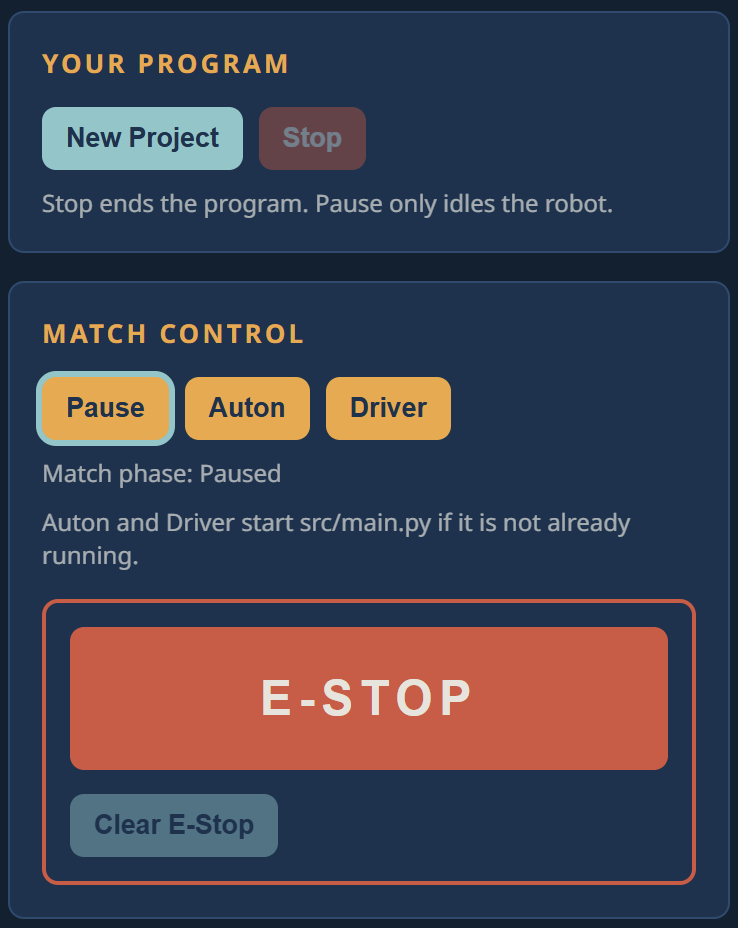
Start Auton or Driver, from Match Control or the Start Auton/Start
Driver icons in the editor title bar, to launch src/main.py. Auton runs your
autonomous(robot) function, Driver runs your driver(robot) function.
The editor title-bar icons sit in the top-right corner of the editor, and only appear once a MARLIN project is open. Left to right inside the green box: Start Auton, Start Driver, Stop.
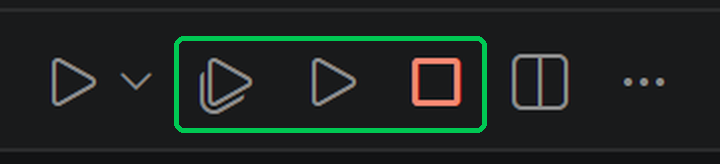
The play button furthest to the left is VS Code's own Run Python File button. Do not use it. It runs your file without the MARLIN link configured.
Use E-STOP immediately if the robot becomes unsafe.
If something goes wrong
Read the newest message in the MARLIN Console first. It usually names the missing step. See Troubleshooting.